
Cricut Craft: Lucy is 2 and too cute
Our cutie patootie granddaughter, Lucy, turned two this month and I wanted to make her a few things for her birthday. There were so many cute iron ons, but several used lots of layers and, to be honest, I am still a newbie. I wanted something that would definitely turn out and wash well.
Since she is two I thought “2 cute” would be fun. I grabbed some glitter iron ons that would match some adorable unicorn sweat pants I had for her. I did a big number 2 out of white glitter and put it at an angle just for a whimsical touch. The “cute” is teal (my daughter’s favorite color) and the hearts are a purplish/pink color. I think it turned out CUTE.

Of course she is SUPER CUTE in it!

She always makes me smile. What a beautiful and sweet girl!
Her shoes are actually unicorn squeaky shoes we gave her for her birthday. Seeing her jump on her mini tramp with her squeaky shoes makes me giggle.
I made her hat and that pattern will be available soon.
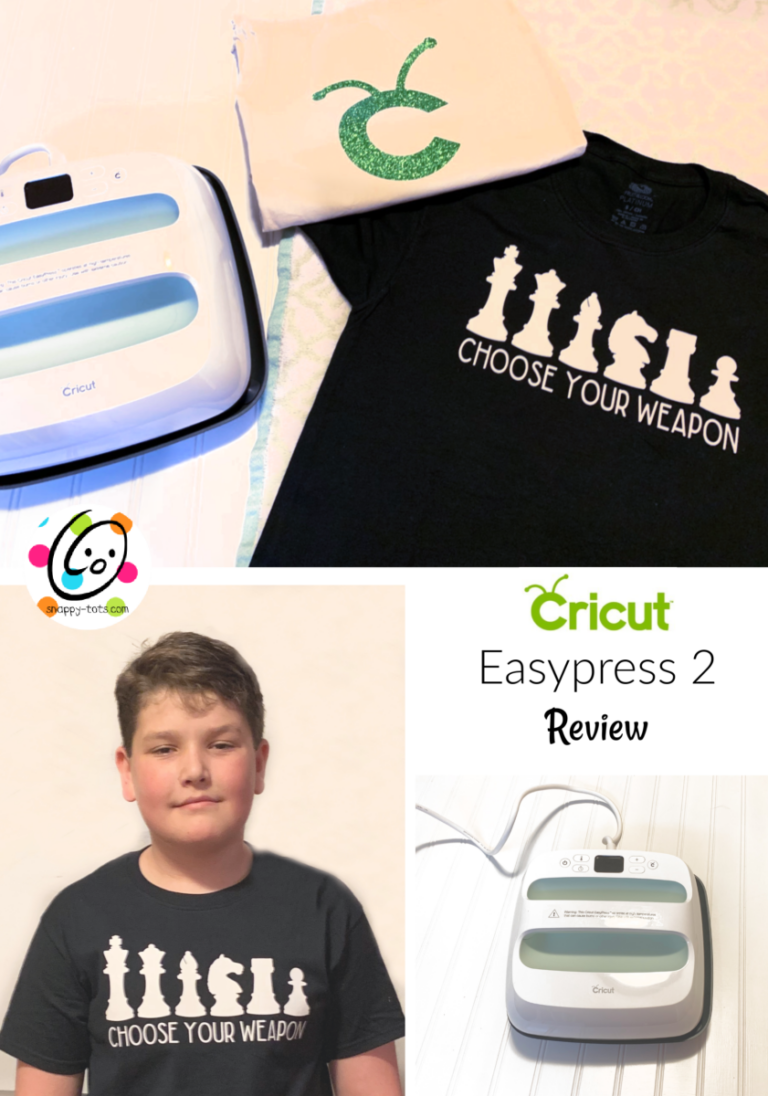
HOW TO MAKE A SHIRT TOO
Materials We Used
- Cricut Maker or similar machine
- Cricut Glitter Iron-On™ Jewels Sampler or choice of colors
- Computer or other device to access Cricut Design Space
- Weeder tool, Strong Grip Cutting Mat
- Cricut Bright Pad (optional)
- T Shirt
- Cut File in Cricut Design Space: CLICK HERE or download the graphic HERE
Making The Iron On
Step 1: The Graphics
Click on the link above in materials and cut the design. Check your measurements first.
For tips on using design space, check out Design Space For Beginners.
Step 2: Cutting the Iron On
- Place your iron on vinyl shiny plastic-side DOWN on a strong grip cutting mat. Tape down the edges.
- Follow the guided steps.
- Make sure to click “Mirror Image (for iron-on)” so it flips your image.
- Don’t peel the Cricut vinyl sheet off the mat yet. We are going to remove the extra vinyl that’s not part of your design first.
- Use the Cricut weeding tool to remove any unwanted vinyl. Make sure you get every little piece out of the letter centers too. When done, peel the piece off the mat.
- Cut around the outer edge of the vinyl to remove the extra film. You will want to cut pretty close to the edges of the different pieces.
Step 3: Applying The Vinyl
Place the shirt on an EasyPress Mat. Check placement and make sure it is straight.
Temp Settings: Need to know the temperature to use for your fabric? Cricut has an online heat guide you can use. I also really like the downloadable charts from “Hey, Let’s Make Stuff”.
When the EasyPress has reached the necessary heat, place it on top of the vinyl. Push the button to begin the timer for 30 seconds.
Flip the shirt over. Cricut suggests also ironing from the back of the piece,
Allow the vinyl to cool a bit and peel off the film.
WHAT WE LEARNED
How Tos: Links I found super helpful with this project
~ Use the strong grip mat (or a clean/sticky standard grip mat) plus tape down the edges. I had a really hard time keeping the edges from rolling so this was super helpful.
~ Weeding glitter vinyl can be hard to see. I pulled out my Cricut Bright Pad and it helped a ton! Taping to a window with light coming through can help too. There are some great tips for working with glitter vinyl on “The Home I Have Made” too.
~ Wash the t-shirt first WITHOUT fabric softener. Woa! I have seen people say “don’t wash the shirt first” so many times, but CRICUT says YES, wash it first and the tip for leaving out the softener is one I should have known! Check out their tips for “How to Make Sure Your Iron-On Lasts…“
50 T Shirt Tuesdays
This year, to celebrate my 50th birthday, I am celebrating all year long with some special series. I hope you will follow Hayden and I (and some other special people in our world) for 50 different t shirts, one each week on “T Shirt Tuesday”. See them all at THIS LINK.
Pin To Save For Later

