

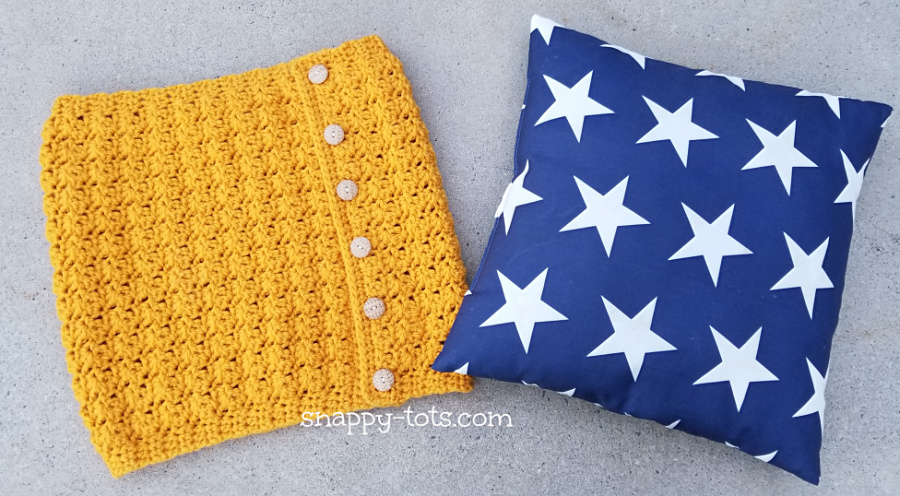
I love things I can change for different seasons. I have cute patriotic pillows and keep thinking I should get some other pillows to trade throughout the year. …But where would I store all of those pillows?! So, I got thinking. What about making a wrap to transform my patriotic pillows to use for other seasons and holidays? I decided to give it a try and I think it will be great for gifts too!
I used the new Red Heart Super Saver Chunky yarn. I have been dying for it to come out and it is as wonderful as I had hoped. The colors are rich and the yarn is easy to use.
Thanks to Red Heart Yarns for supplying the yarn for this project!
Since it is new, it might not be in stores near you. Other bulky weight yarns could be used instead or even 2 strands regular super saver yarn held together.
Sweater Pillow Wrap Directions
An ad-free, downloadable PDF which includes all of the photos and instructions is available for a small free from my Ravelry Shop: Click HERE
Materials and Details
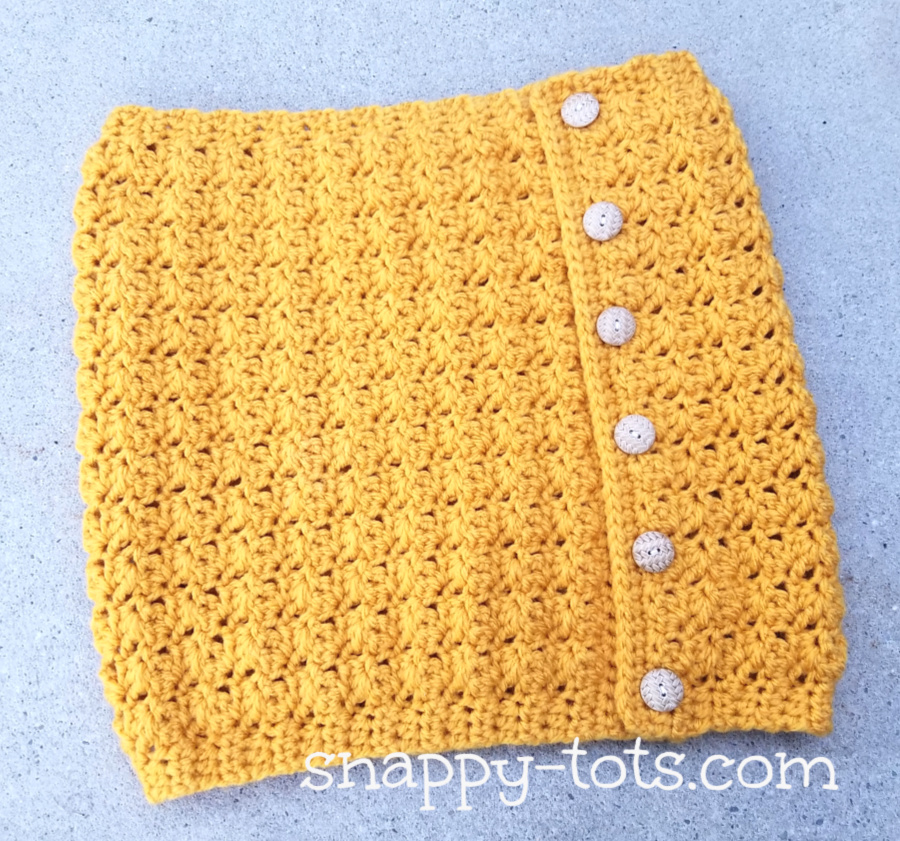
- Yarn: 350 yards bulky weight yarn. Sample: Red Heart Super Saver Chunky yarn – 2.25 skeins Goldenrod.
- Crochet Hook: J
- Notions: 6 buttons (1.5-2″), yarn needle for weave in ends, 4-6 sew on snaps (size 4), 15″ square pillow/pillow form
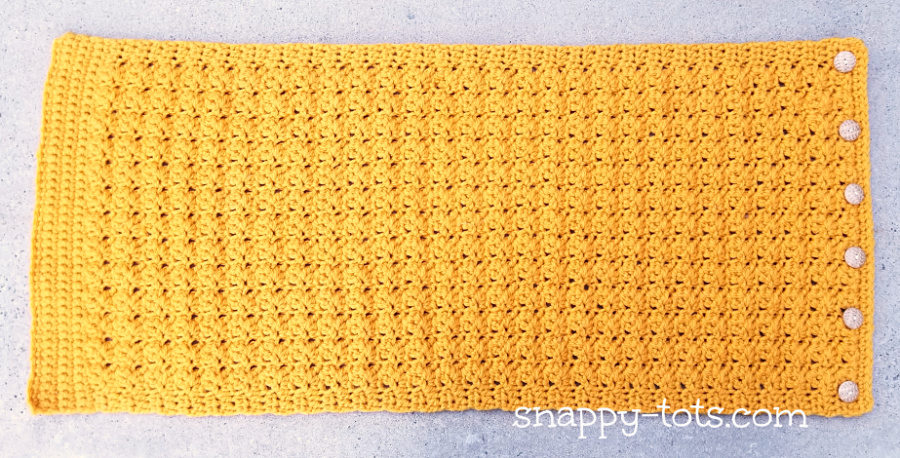
- Measurement (flat, unfolded): 15″ wide x 35.5″ long
Tips
- The first stitch of each row is worked into the same st as the turning chain.
- Stitch counts remain the same unless noted at end of row.
Abbreviations
ch – chain
hdc – half double crochet
dc – double crochet
tr – treble crochet
sc – single crochet
sk – skip
sl st – slip stitch
st/sts – stitch/stitches
Directions
1.With a J hook and bulky weight yarn, ch 46, sc in 2nd ch from hook and in each ch across. (45sts)
2-7. Ch 1, turn, sc in same st and in each st to end of row.
8. Ch 2, turn, hdc in same st, hdc 2, *(sc, dc, tr) in next st, sk 2*, repeat until 3 sts remain, sc in next st, hdc 2.
9. Repeat previous row until piece measures 34″ from beginning edge.
10-11. Ch 1, turn, sc in same st and in each st to end of row.
12. Ch 1, turn, sk first st, sl st in each st to end of row, making sure to not work the sts too snug. Finish off and weave in ends.
Closure
Note: For a full time pillow instead of a removable cover, skip down to “full time pillow”.
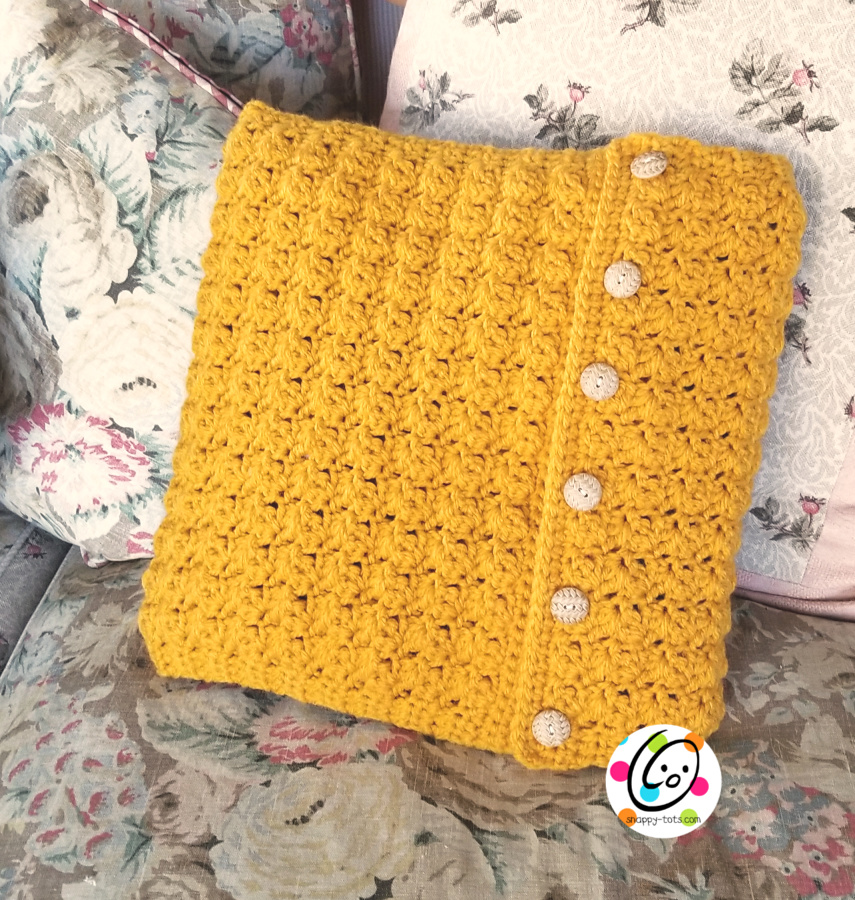
The buttons can be sewn the the beginning section and slipped through the last cluster row. For the sample, I chose to sew the buttons on the outer edge and used snaps to connect the layers. Why? It kept the layers together from edge to edge and more secure.
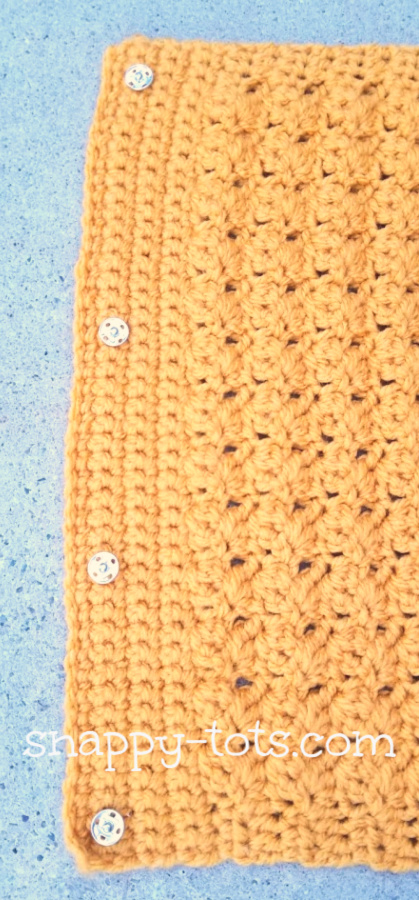
With a sewing needle and matching thread, sew each button to the outer edge (last rows). Sew one half of snaps to the opposite side of where the buttons are sewn.
Fold the ends toward each other to check placement of the other half of the snaps. Sew the other half of the snaps on the opposite end and side of the piece.
Wrap the piece around a pillow and snap into place. Project complete.
Full Time Pillow
This could be turned into a complete pillow instead of a removable cover if desired. First sew buttons to the last edge (as shown in photos).
Insert the pillow or pillow form and sew all of the edges with a yarn needle and matching yarn.
Custom Sizes
This could be made to fit any pillow. Start with a beginning chain the same length as one side of the pillow. The chain count needs to be a multiple of 3. Follow directions as written after chain.
Pin To Save For Later

